Back

Topic

[KB1078]WebVue HTML5 – Extended URL

4 years ago
By ENPA
Options
Print
Applies to:

PcVue 12 and onwards


Summary:

In this article we describe how to use an extended URL to access your Web features.


Details:

In order to have an extended URL you need to have acces to the IIS server and to the inetpub directory. We will take as an exemple this link: https://10.0.0.110/extended/WebClient. This specific link would allow us to access WebVue. Normally with the Web Deployment Console (WDC), if we deploy a website we will get a link made up of the binding and the corresponding extension to access your Web feature. In our case, the WDC would generate the following link: https://10.0.0.110/WebClient.

To configure an extended link you need to:

  1. Perform a basic deployment using IP address or host name as binding with the WDC.
  2. Change the redirect URL from WDC:
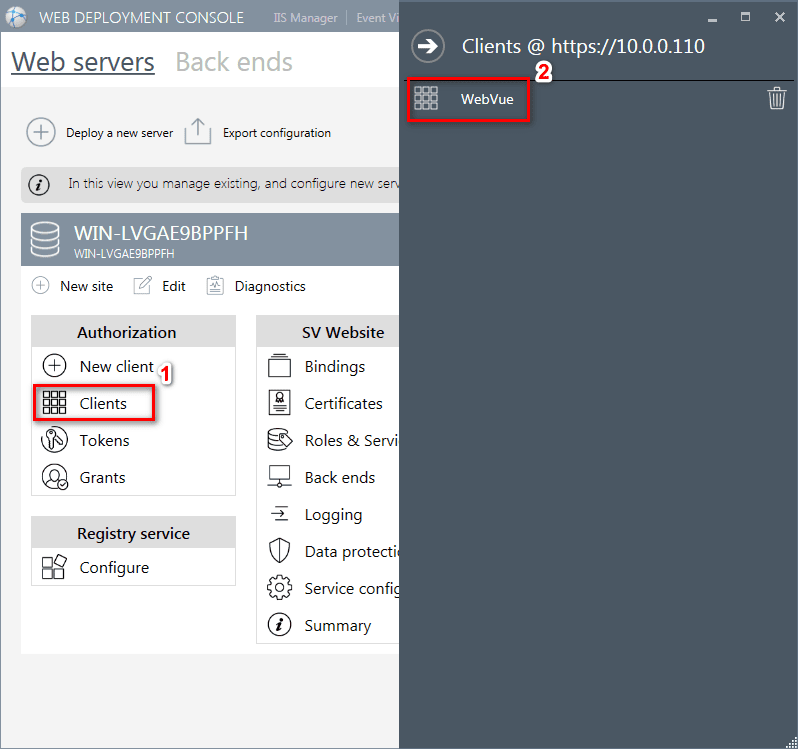
    1. Open the CLIENTS section and click on your Web feature.
      2020 10 16 165104
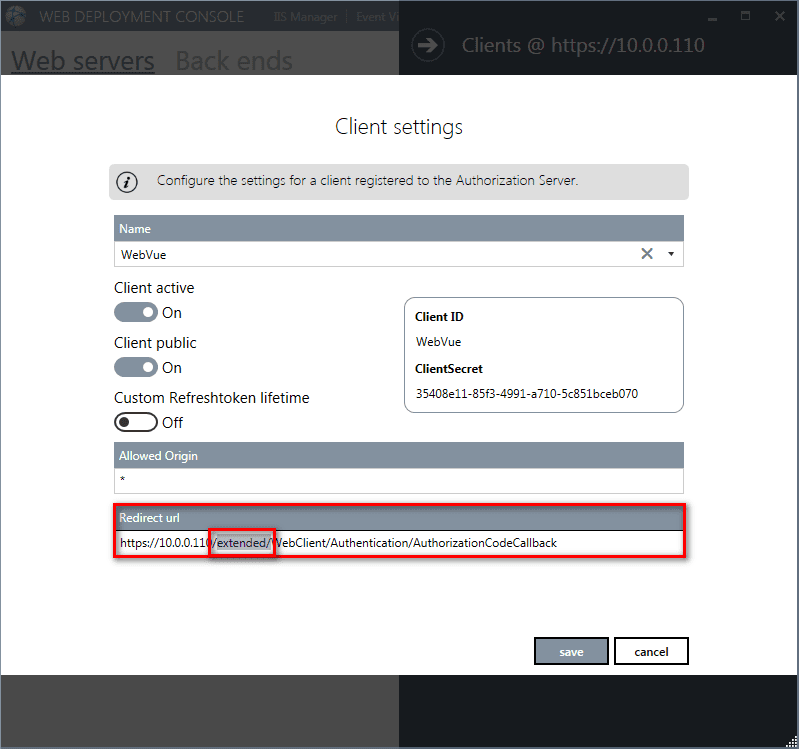
    2. Edit the Redirect URL entry field. Add the extension you need. For the exemple we will use “extended“. Save your configuration.
      2020 10 16 165200
    3. Close the WDC.
  3.  Open Internet Information Services Manager (IIS).
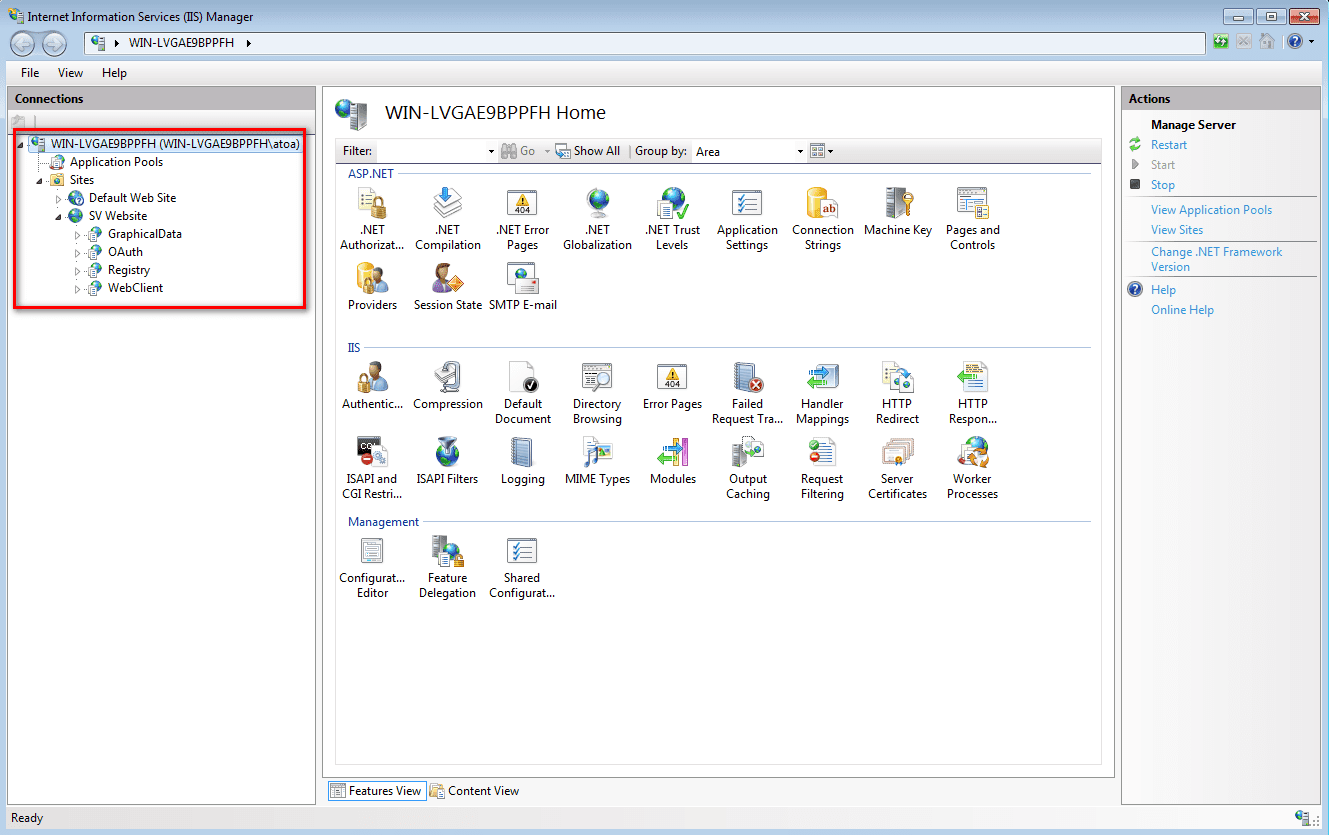
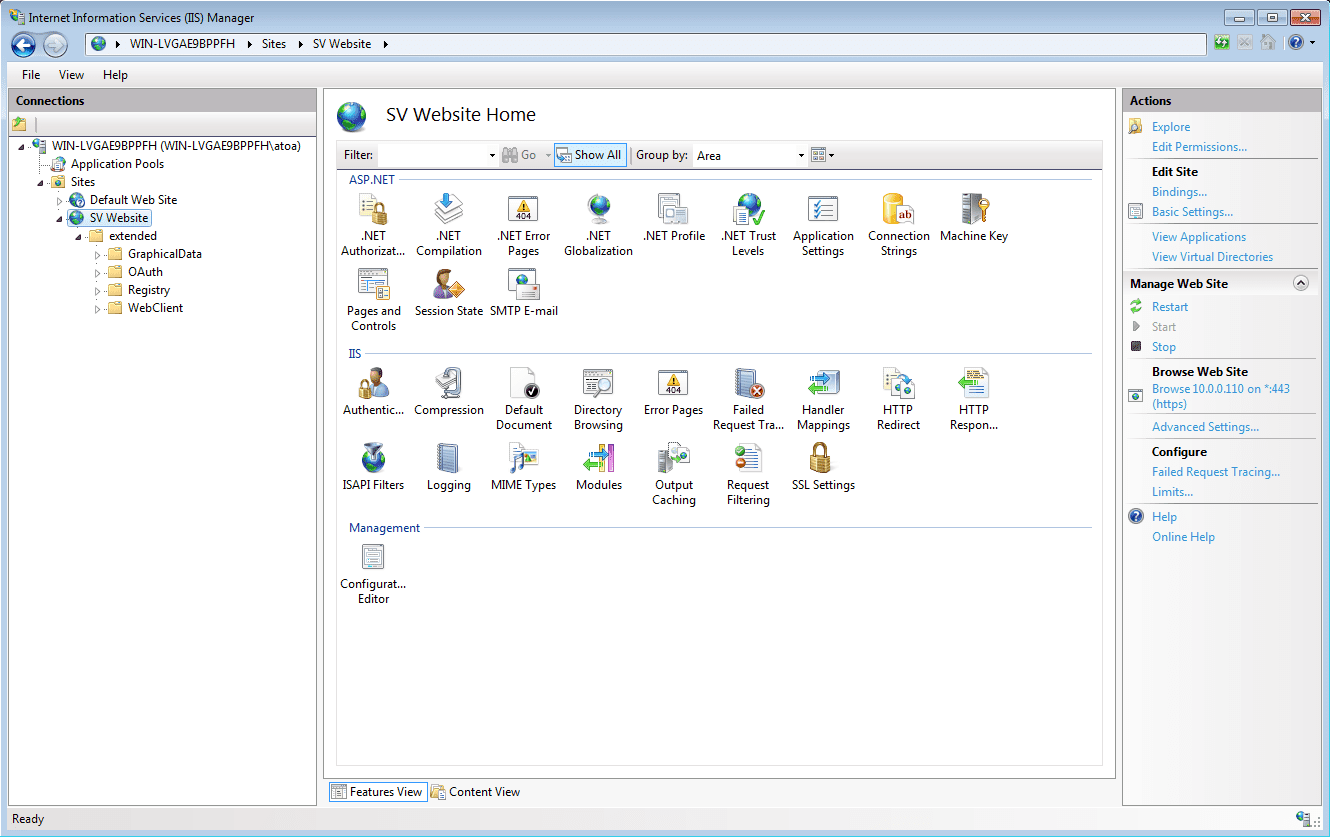
    1. Check that the configuration in IIS corresponds to your deployment done with the WDC.
      2020 10 16 171244
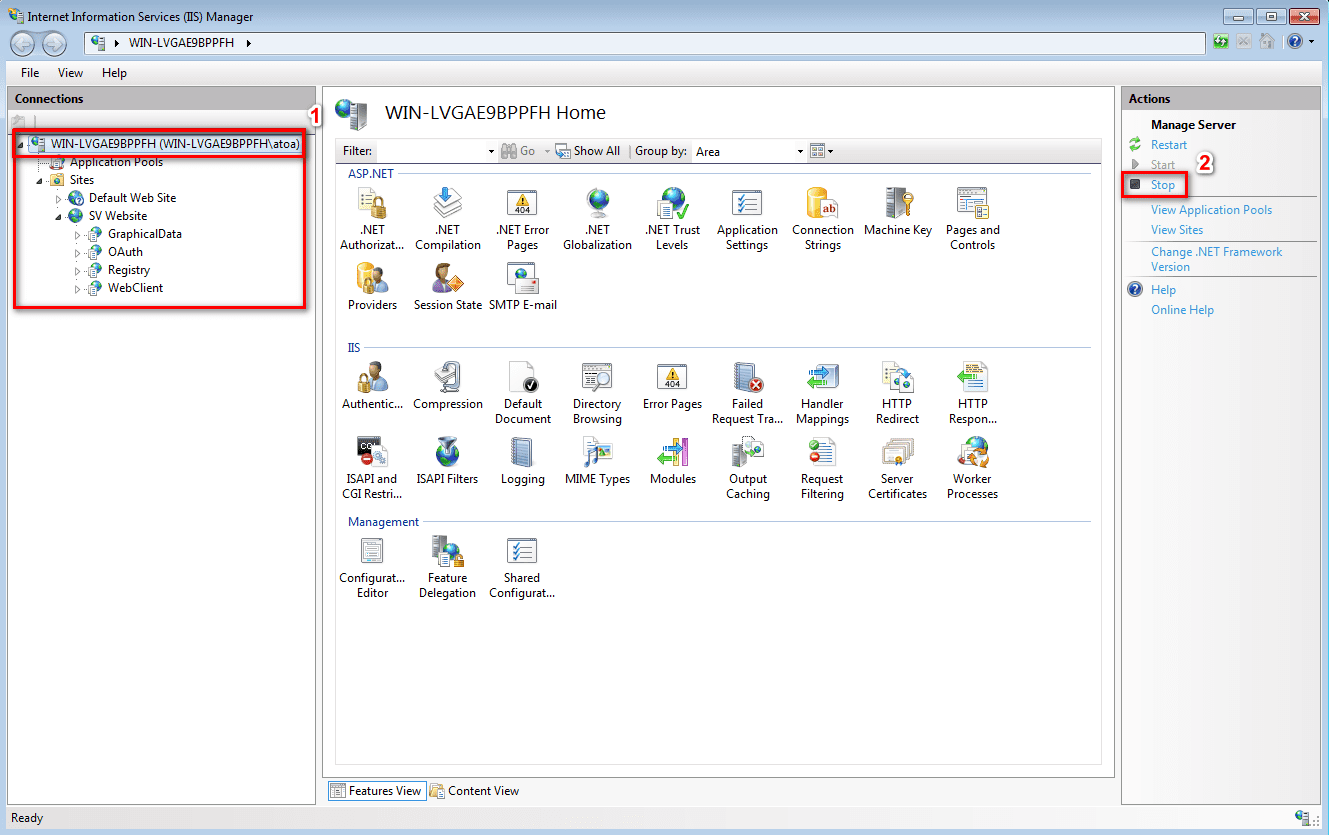
    2. Stop the IIS Server by clicking on Stop.
      2020 10 16 171244d
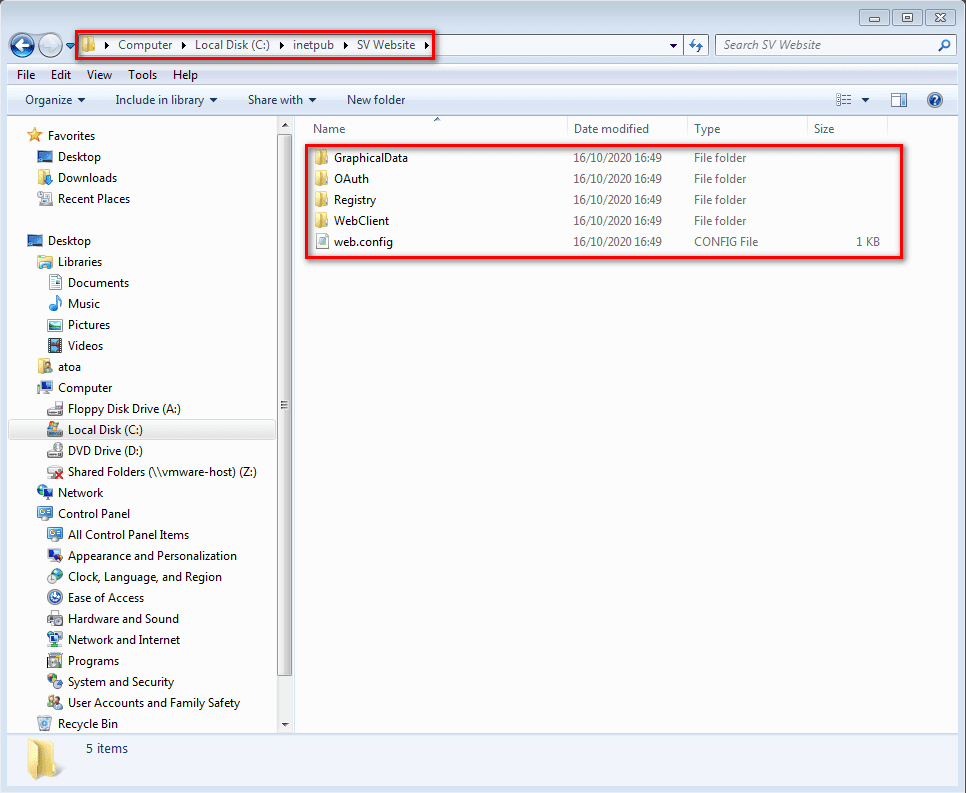
    3. Go to C:\inetpub directory and open the folder named after your website. In the exemple it would be SV Website.
      2020 10 16 172355
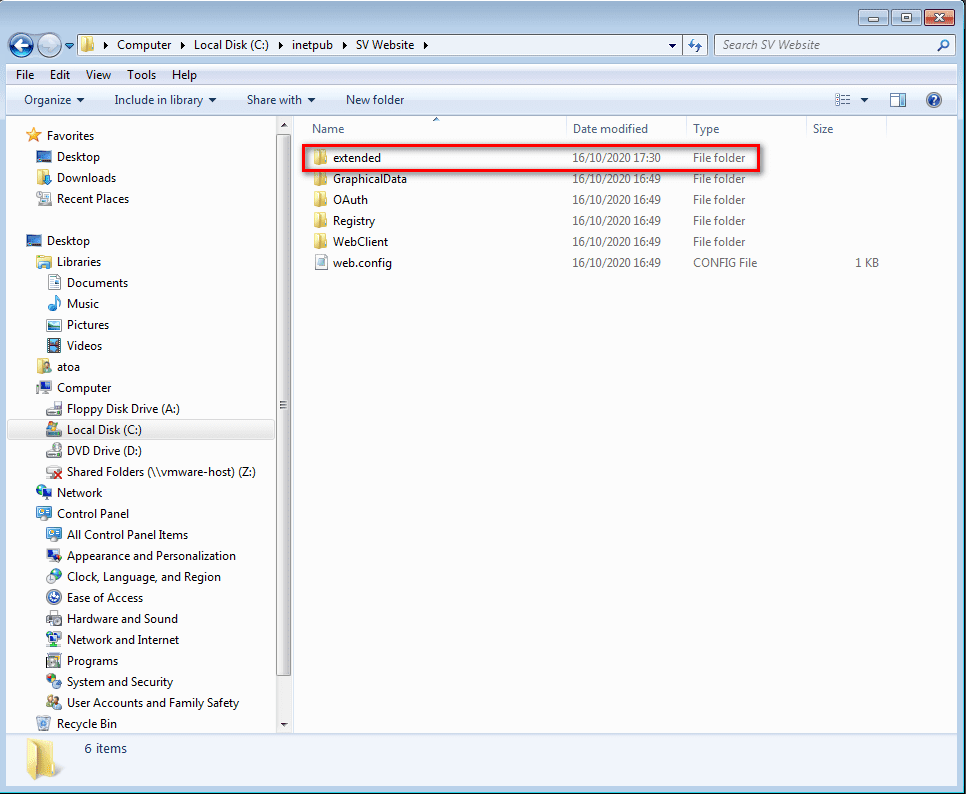
    4. In this step you will add a new folder in order to create a new application for your Website. The folder will be named after the name of the extension. In the exemple we will name the folder “extended“.
      2020 10 16 173040
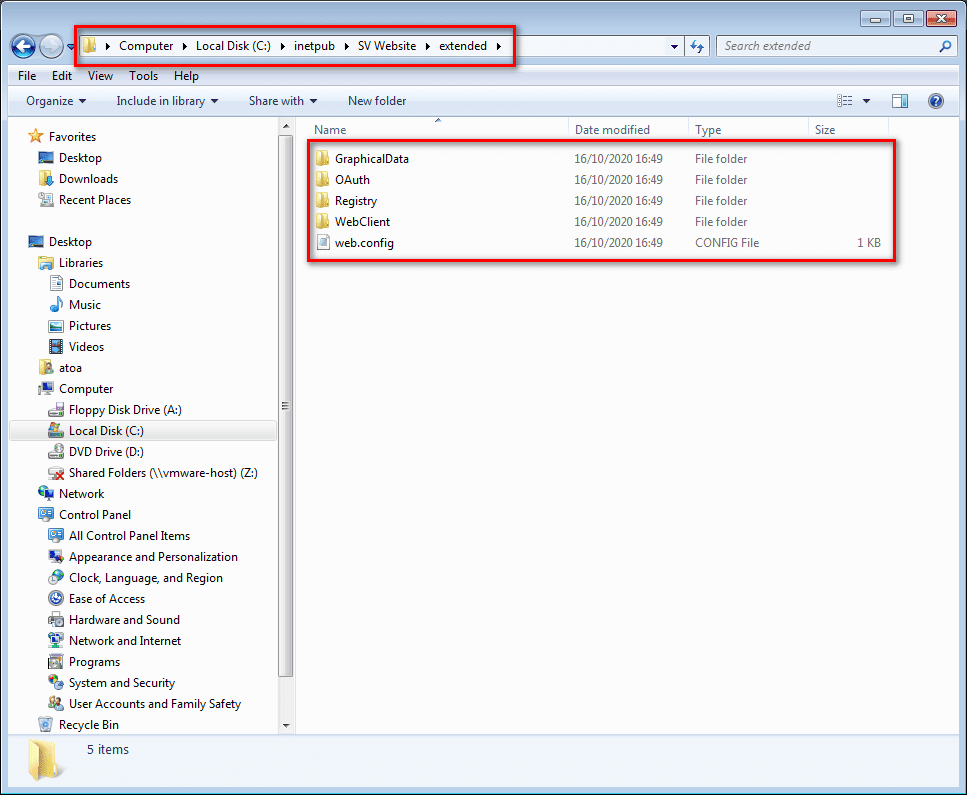
    5. Move all the existing folder and the file to the new folder created. You should have in your new folder all the services you deployed with the WDC.
      2020 10 16 173650
  4. Modify 3 web.config files.
    1. Open the WebClient folder and edit the web.config file as following:
      2020 10 16 174508
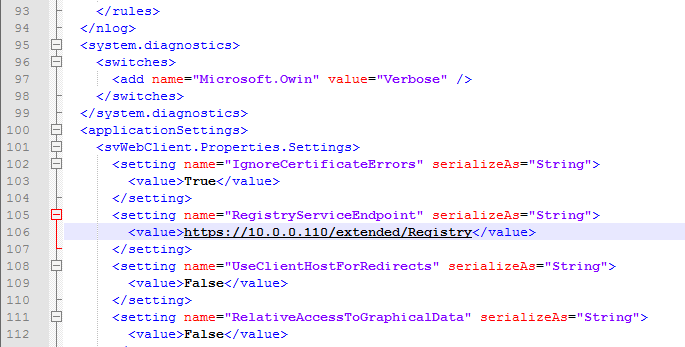
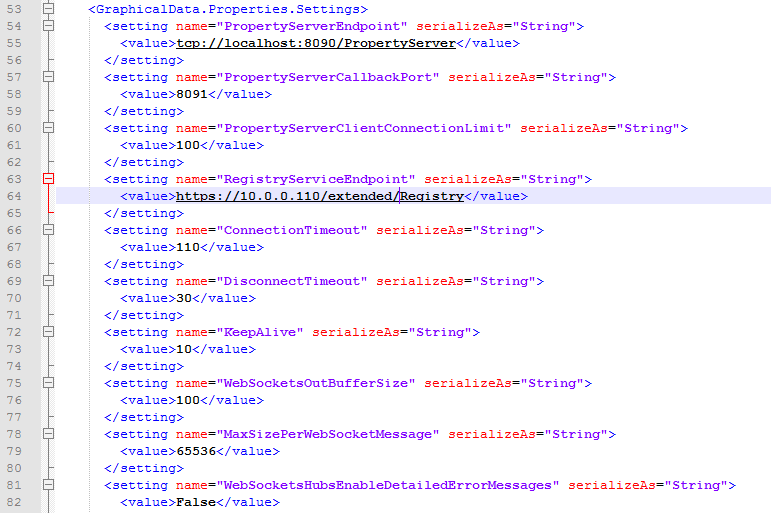
    2. Open the Registry folder and edit the web.config file replacing current URL for the new extended URL. For the exemple we replace https://10.0.0.110 with https://10.0.0.110/extended in all 9 occurences.
    3. Open the GraphicalData folder and edit the web.config file as following:
      2020 10 16 180100
  5. Go back to your IIS Manager.
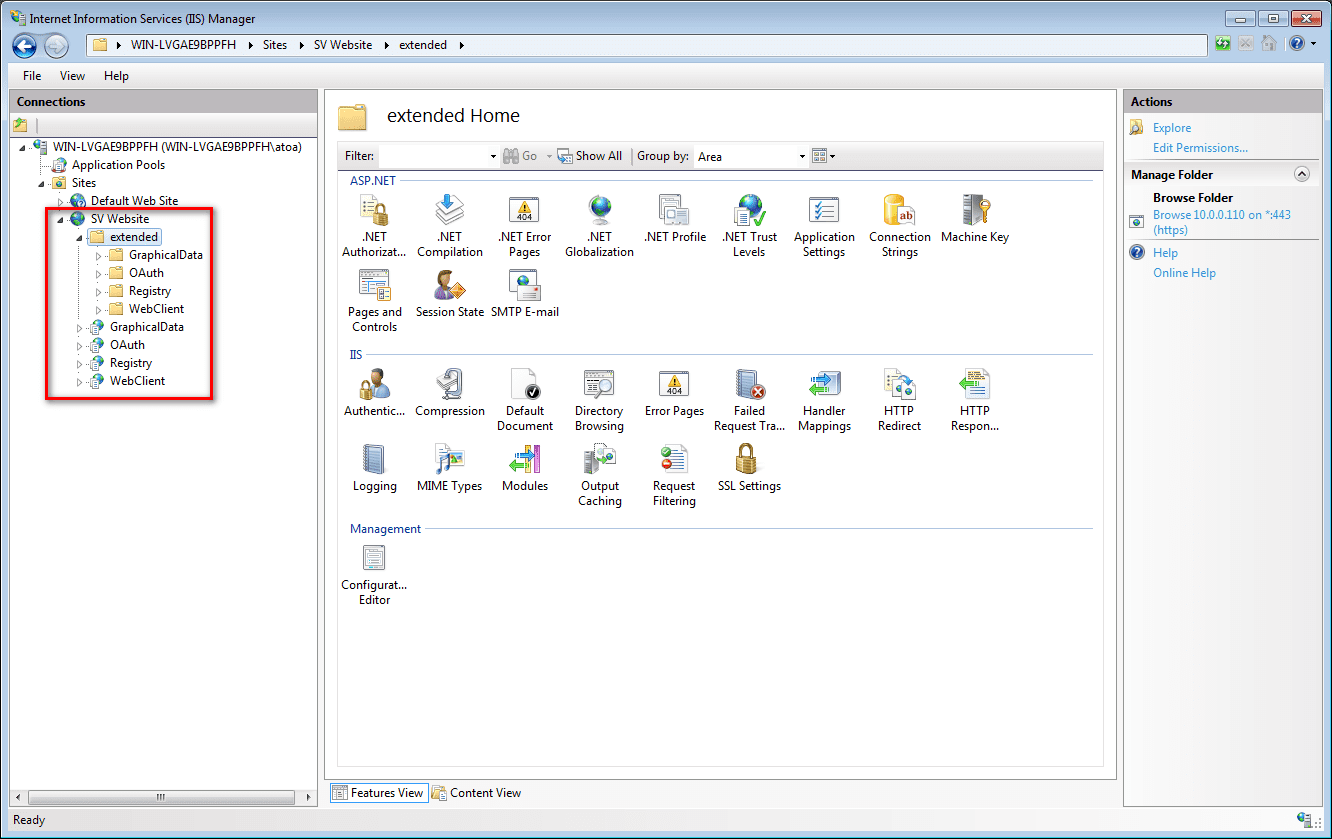
    1. Your IIS Manager should display this configuration:
      2020 10 16 174015
    2. Remove the old applications, the one that are not in the extended folder. To remove it, right click on the application and click on Remove. At this stage, your configuration should be as following:
      2020 10 16 180854
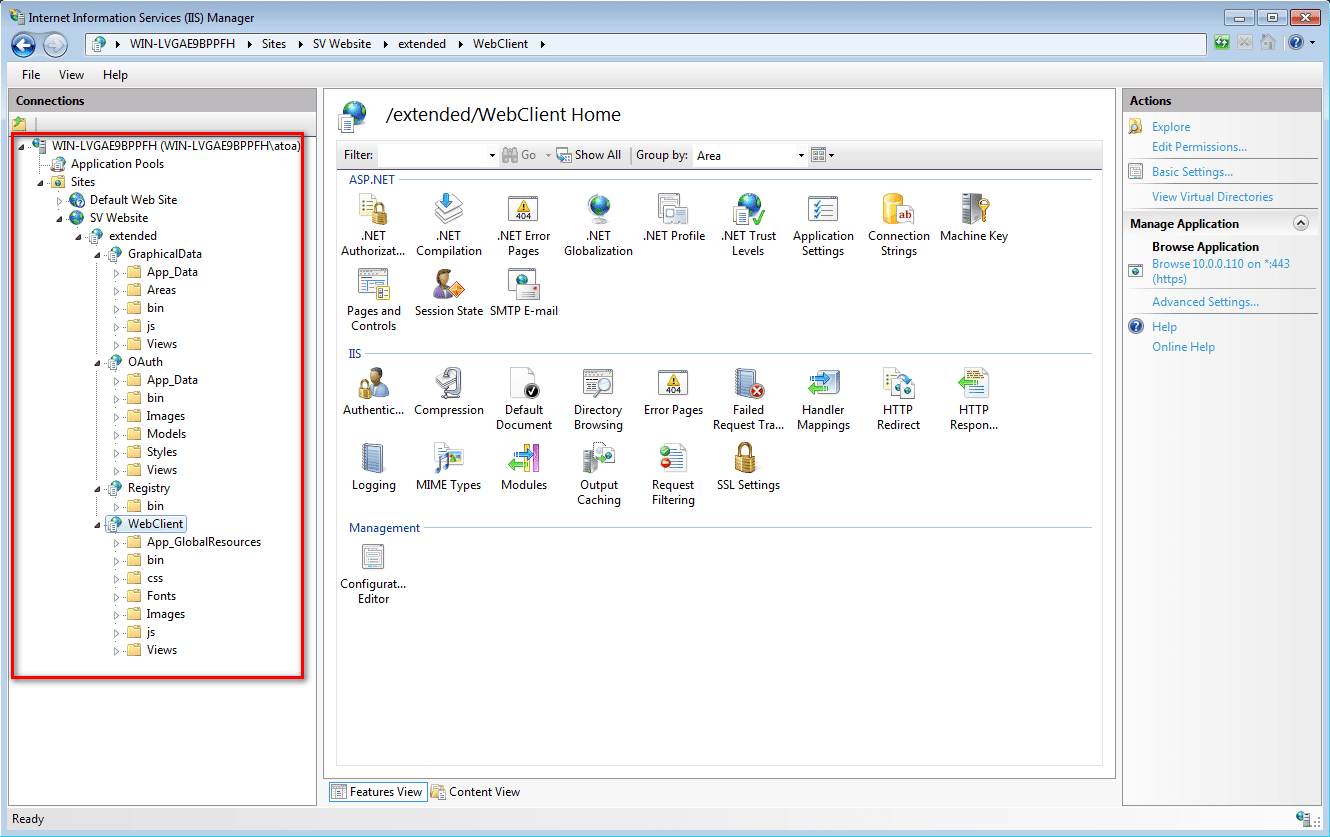
    3. The final step is to convert your folders in Applications. Right click on the folder and click on Convert to Application. Apply default setting by clicking on OK.
    4. Your final configuration should look as following:
      2020 10 16 181257
    5. Start your IIS Server.
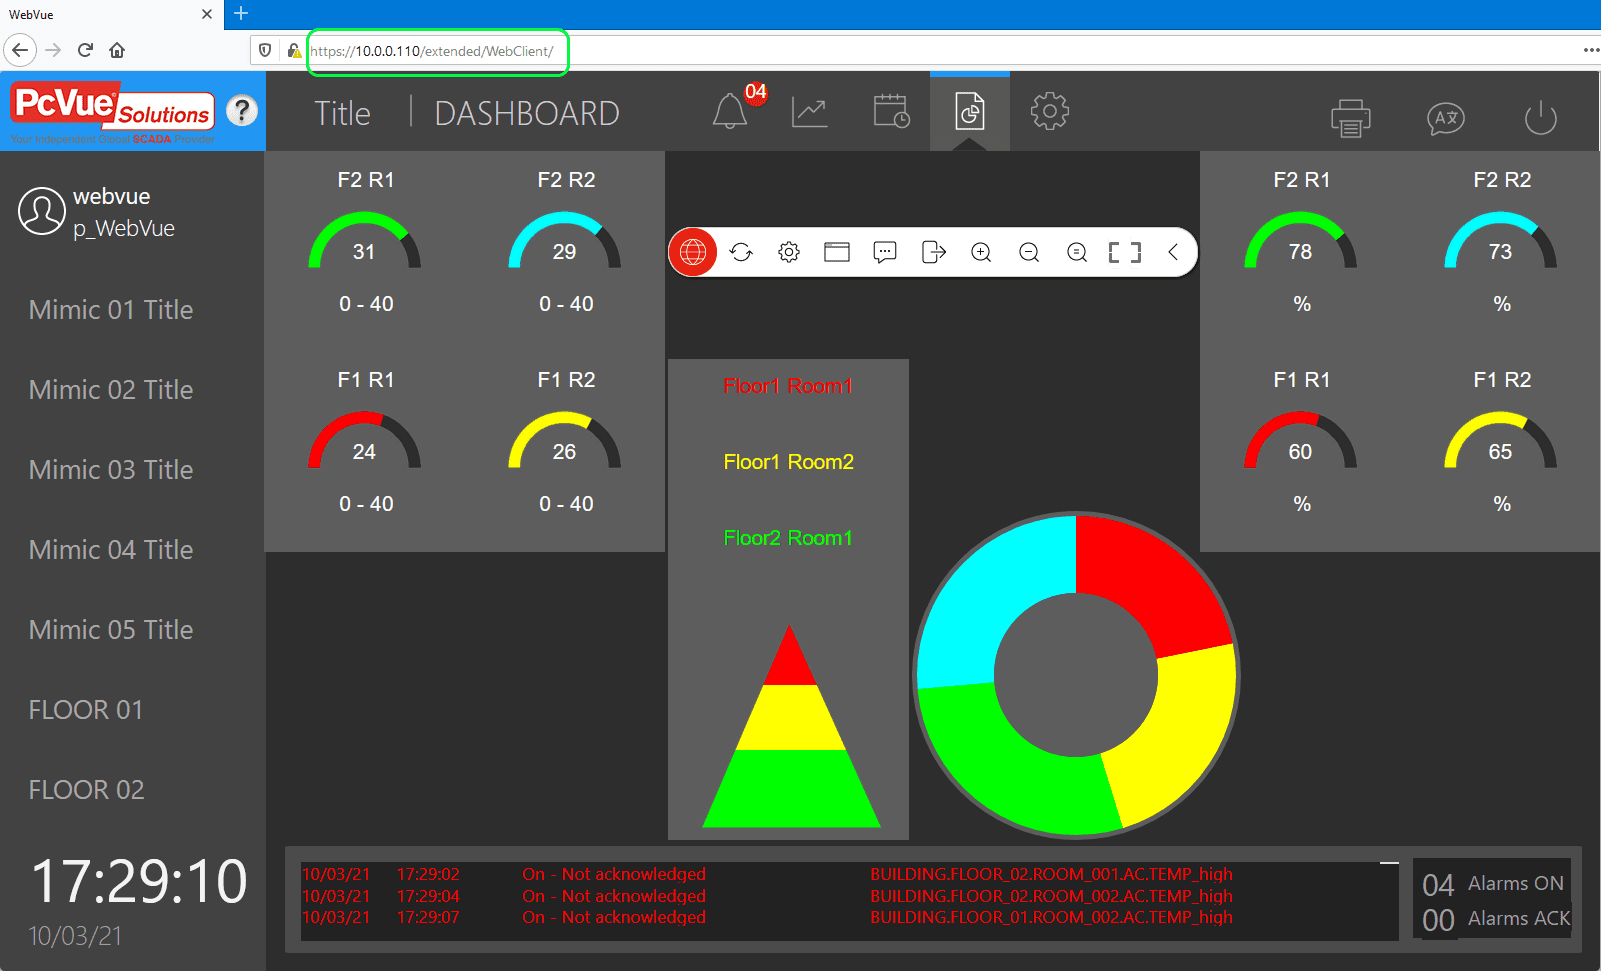
  6. Now you should be able to access your Web feature with your extended link. In the exemple we access WebVue:
    WebVue result

Created on: 16 Oct 2020 Last update: 04 Sep 2024